How to Create a Product in Dokan Cloud
As an admin, you can create and assign products for vendors. You can create both physical and digital products.
We are going to show you how you can create and assign products to vendors.
How to Create a Physical Product
In order to create a physical product, first you need to log in to your Dokan account. After logging into the account,
Navigate to *Products→ All Products*. Then, click on the *Add Product* button,

You will be redirected to another page where you need to add product information,

Here are information you need to fill up,
- *Product Name*: Add the product name in the text area. Make sure the product name reflects the product.
- *Product Type*: Choose the product type, you can choose,
- Standard Type: This is for creating a physical product.
- Digital Type: This is for creating a digital product.
- *Description*: In this text area, you need to write the product description. Make sure to write a detailed product description so that it helps you with product SEO.
- *Category:* Choose a product category. You can choose a category that you have created.
- *Images*: Upload your product image here. You can upload more than one image.
- *Pricing*: Add your product pricing here. You can also set the Sale price as well.
- *Tax Class*: If you want you add taxes to your product. Enable the “Collect Tax on this product” option and choose the Tax Class. There are three types of tax classes-
- Reduced Rate
- Standard Rate
- Zero Rate
- *Cost Per Item*: Here you can specify cost price and see profit reports.
- *Inventory:* You can add the SKU, Barcode, Stock Quantity, and Low Stock Threshold from here. Also, you can allow or not allow backorders from here as well.
- *Attributes:* If you product has different colors or sizes, you can add attributes as well
- *Variations:* After creating the attributes, you can generate variations for those attributes as well.
- *Status*: Decide if you want to publish the product right away or keep it in draft status.

- *Brand:* Choose the brand from the dropdown menu. You have to create your brand first, then it will be visible in the dropdown menu.
- *Tags:* Add your product tags. After writing the tags, click the “Enter/return” button add tags.
- *Sold By:* Assign the vendor the product belongs to.
- *Availability*: If you want to hide the product from the storefront, then enable the “Hide from storefront” option.
After you are done, click the update button to finish.

You can see that the product is published. This is how you can create a physical product.
Here is a preview of the product in the storefront,

How to Create a Digital Product
In order to create a digital product, just select the Digital Product option while creating a product.

All the fields are same to Physical Products. However, in terms of digital products, there are few different fields available-
*Downloadable Files*: You need to add the digital file (ebook, video, songs, etc) for the customers to download.
When uploading a digital products, Dokan Cloud offers two primary options for managing downloadable files: Secure Storage and External Link.
- *Secure Storage*: This option lets you upload digital files directly to Dokan Cloud's server. Files are securely stored and can only be accessed by customers who have completed the purchase. Instead of uploading the file manually, you can also paste the URL of the file you want to upload (from Google Drive, Dropbox, etc.). Dokan Cloud will automatically fetch the file from the URL and upload it to its server.

- *External Link*: This option lets you link to files hosted elsewhere (like Google Drive, Dropbox, or shared on WhatsApp/Facebook groups). It's ideal for large files (over 25MB) or when you prefer not to store files on Dokan Cloud.
This is how you can create a Digital Product in Dokan.
How to Configure the Product SEO?
Product SEO is important as you want your products to rank higher both on search engines and marketplaces.
To configure the product SEO, click on the, Edit Product SEO button,
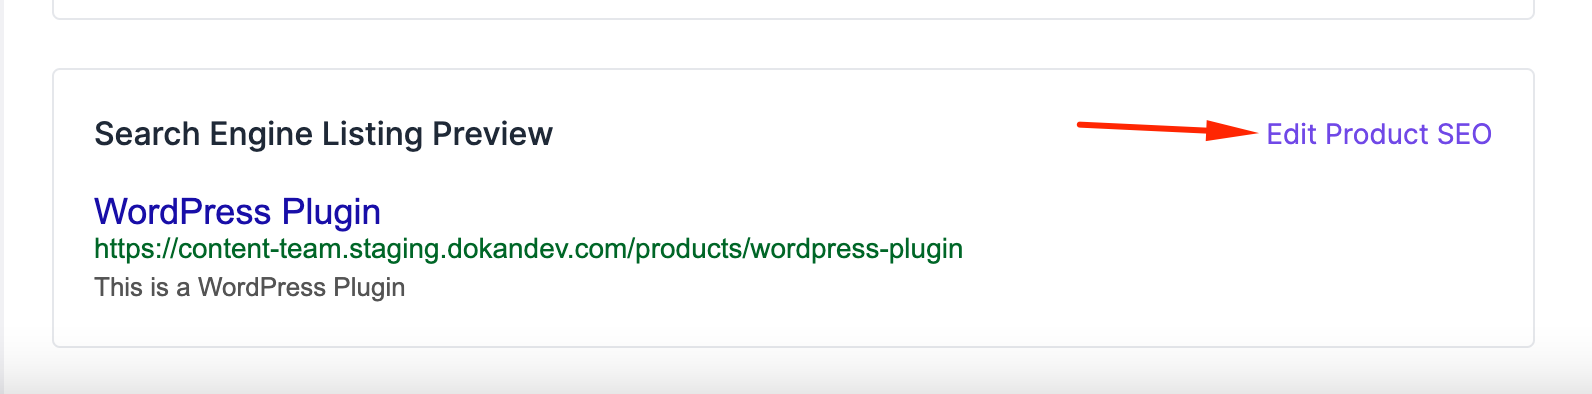
You will be redirected to another page where you can add various aspect of SEO.
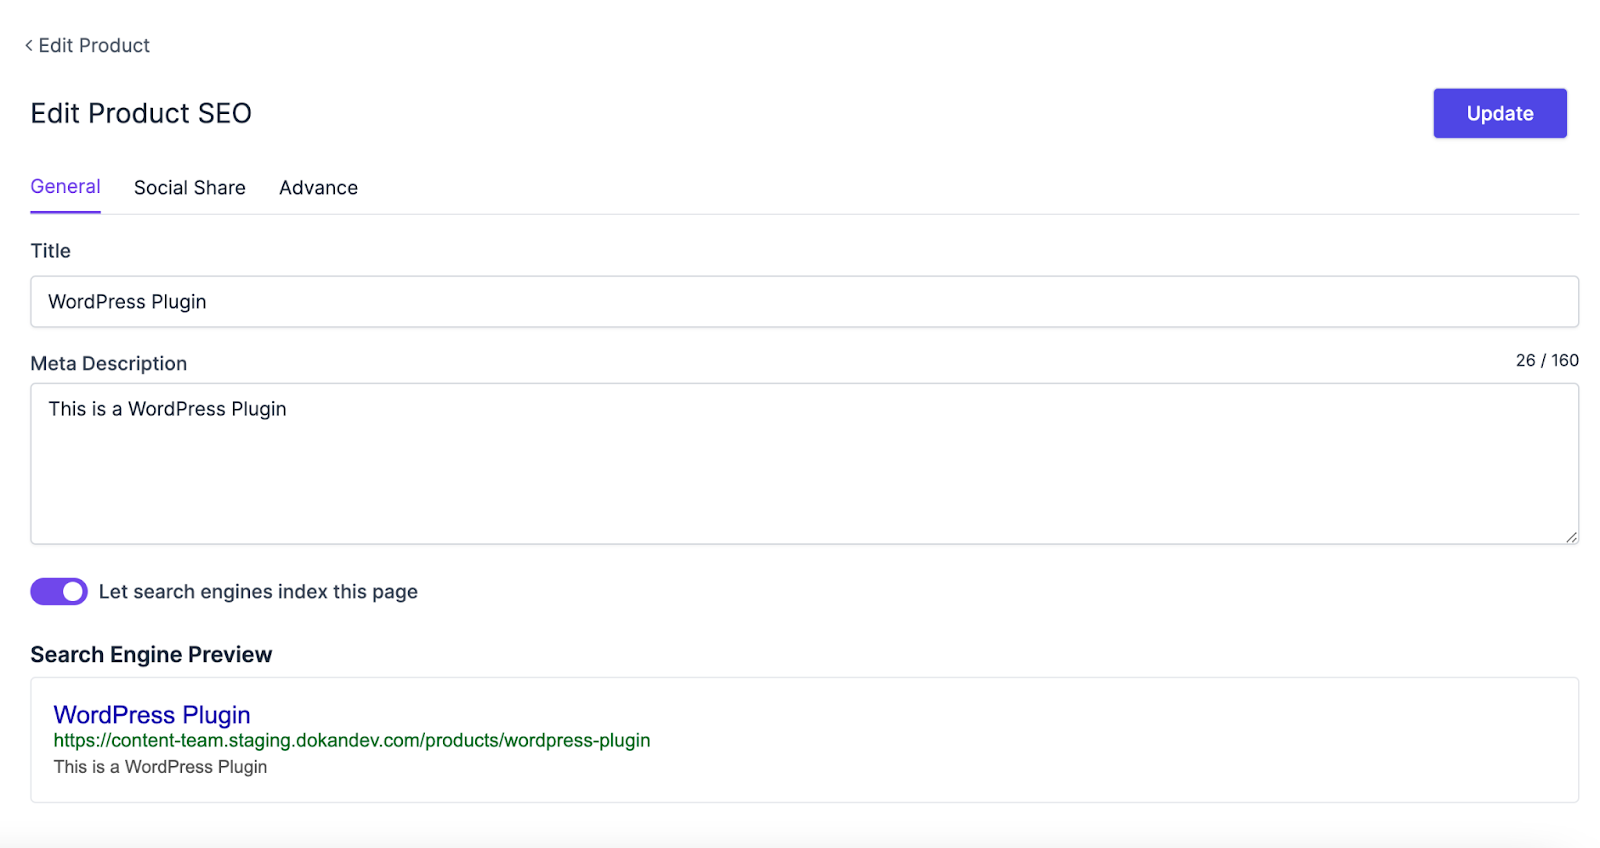
General Section
In the general section, you can add,
- *SEO Title*: Add the SEO title of the product.
- *Meta Description:* Write a detailed meta description of your product so that users easily understand what your product is all about.
- *Indexing:* Choose whether you want to let search engines crawl the product page.
You can also see the search engine preview as well.
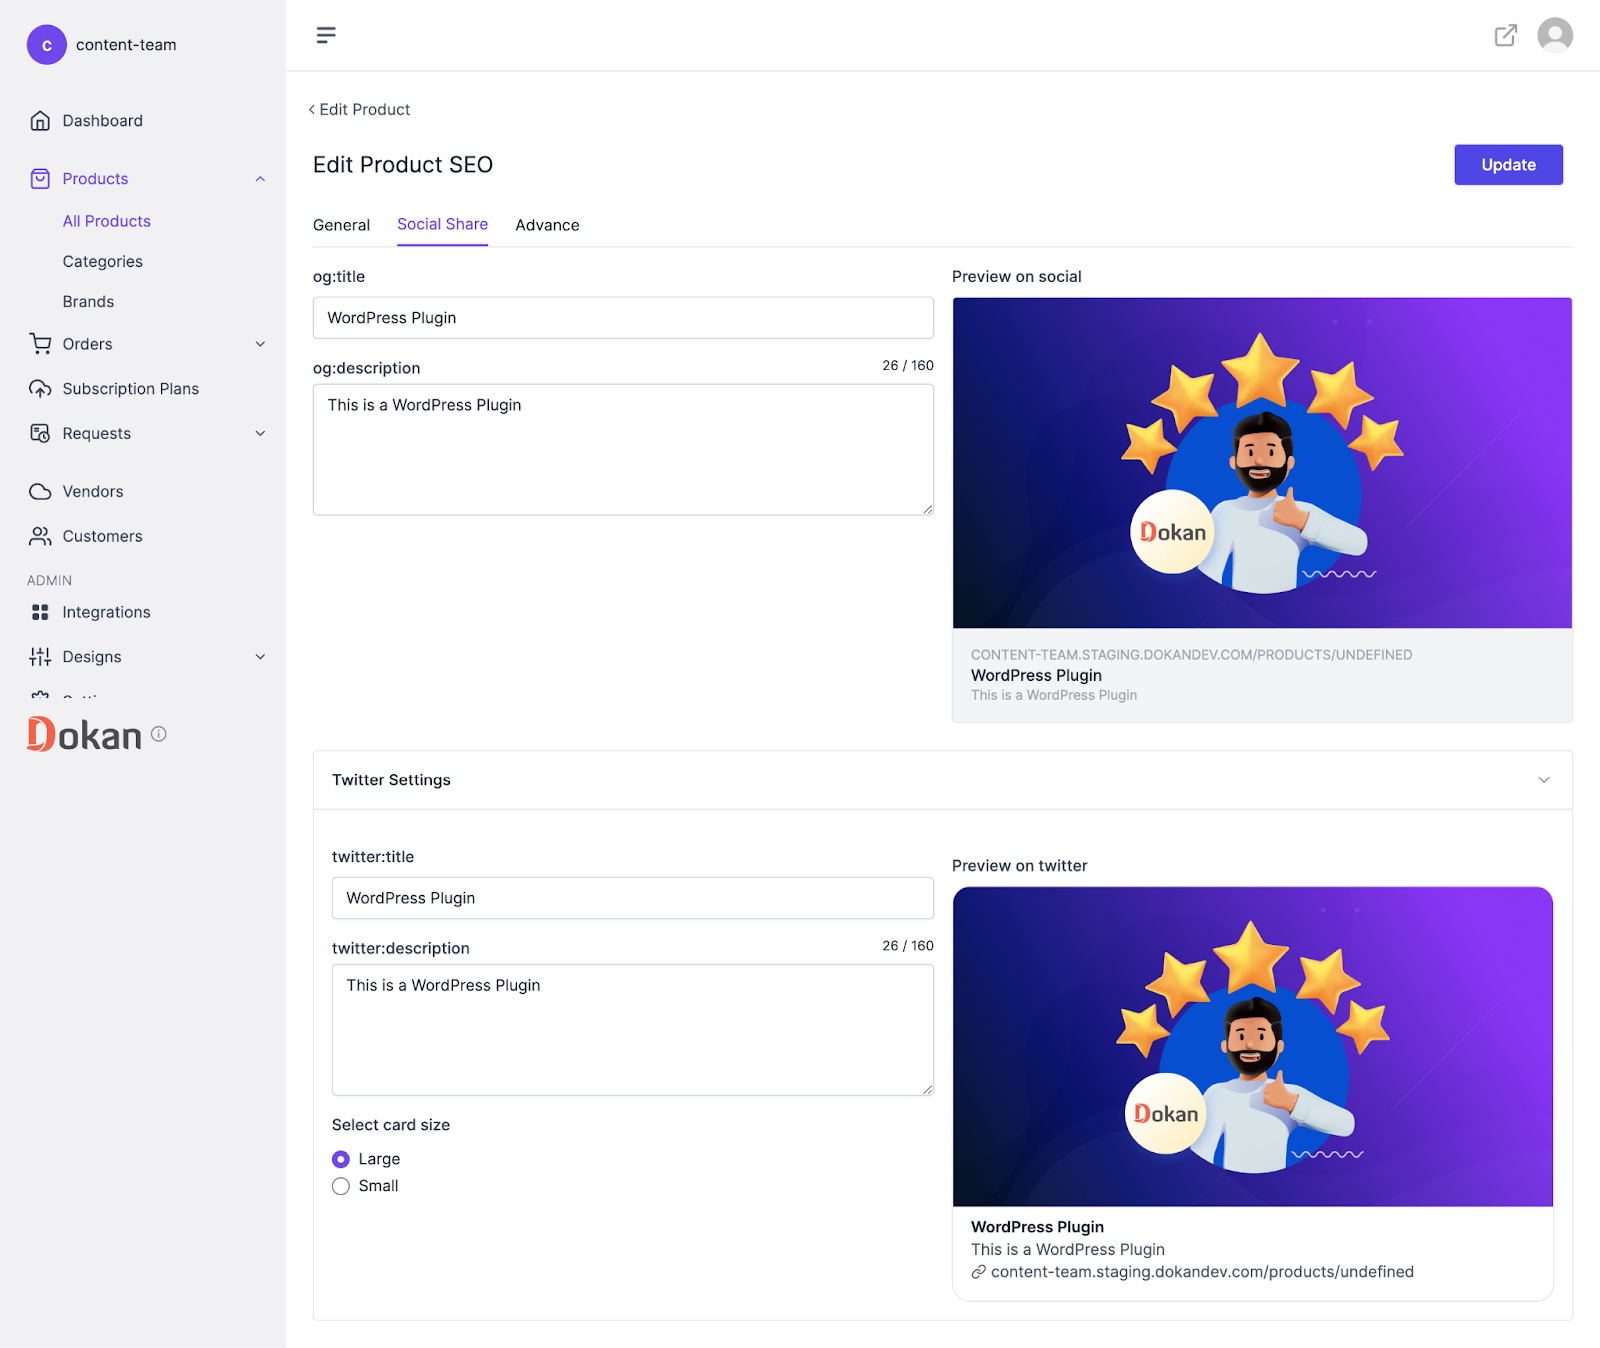
Social Share
You can set how your product will be previewed on social platforms. You can add product title, descriptions, and preview image.
You will get options to configure the preview for Twitter as well.
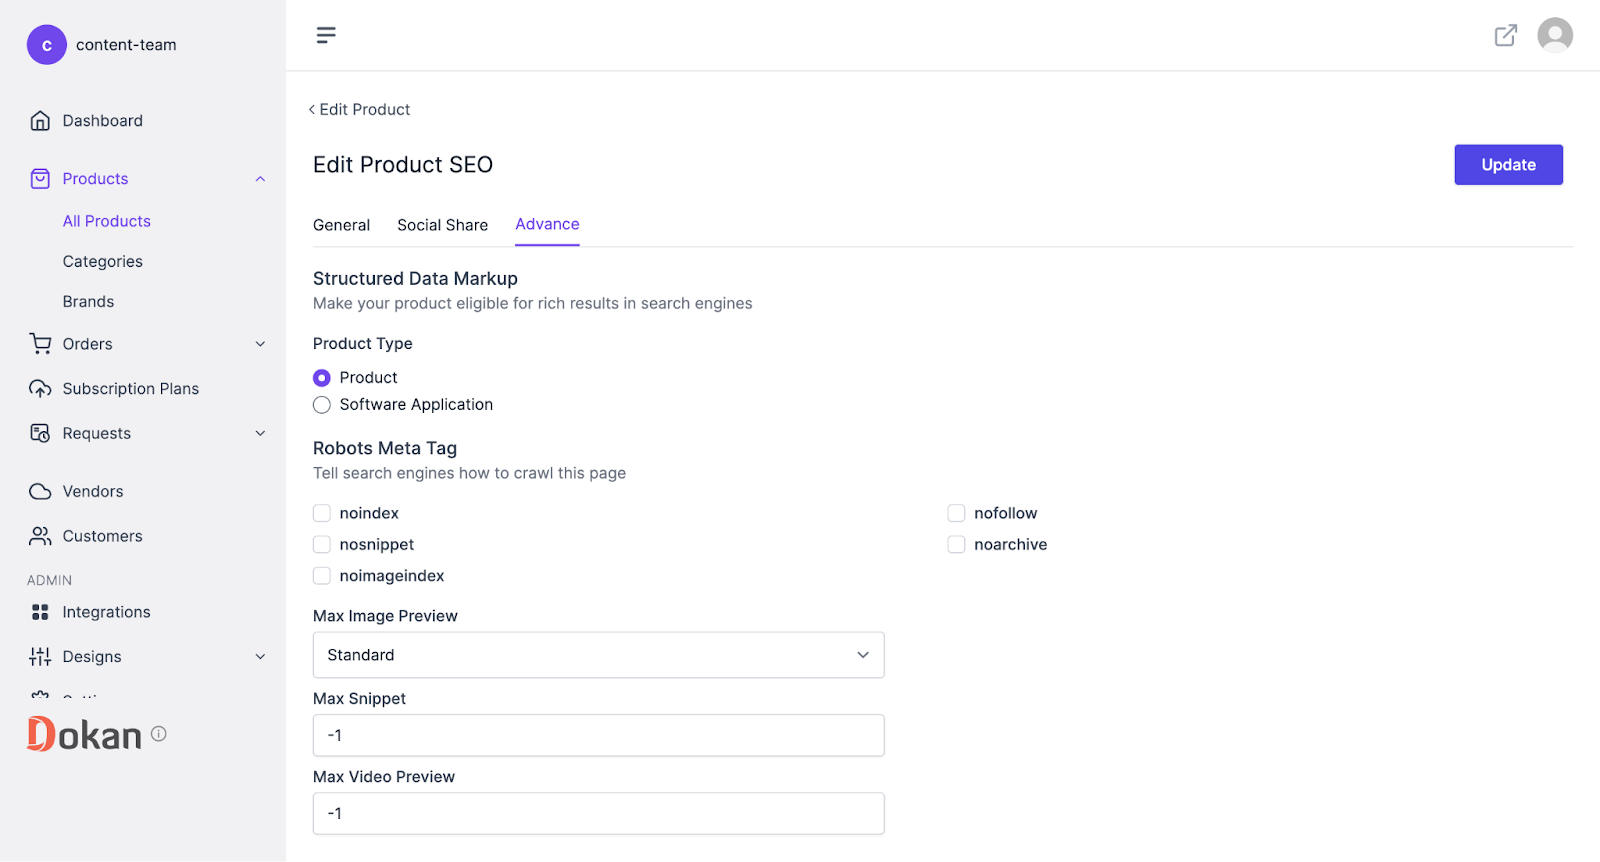
Advance Section
In the Advance section, you will get the Structured data markup. You need to choose-
- Product Type
- Robots Meta Tag
- Max Image Preview
- Max Snippet
- Max Video Preview
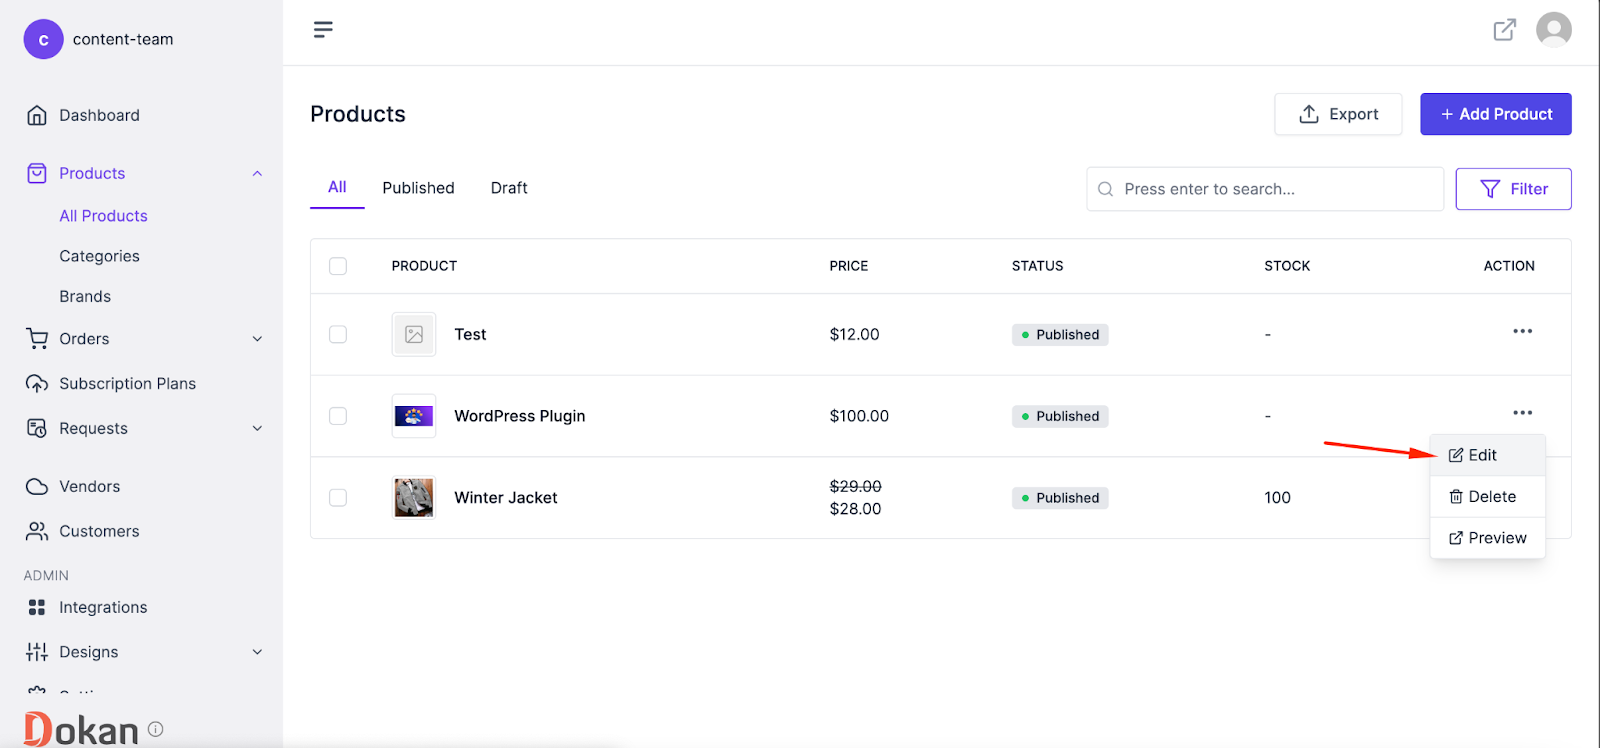
How to Edit a Product?
If you want to edit a product, then you need to click the Edit button like the image below-
That’s it.
Последнее изменение: 25/02/2026
Спасибо!